Hello there, it's been a while! Since my last post, I've graduated with two degrees and started an internship at Epic Games as an Art Pipeline Developer. Life's been crazy, and there's so much more to come, but it's about time that I dissected my magnum opus. For my senior project, I settled on creating a short music video that combined a few original character designs, motion captured dance moves, and the lipsyncing script from my previous post, all wrapped up and rendered real time in Unreal 4. This was such a blast to work on and a huge learning experience.
Concept & Early Art
There were a few essential items I knew that I wanted from the start of this project: a focus on the lipsyncing, use of motion capture, and a cartoony, relaxed art style that could handle the sillyness of motion capture. That last one was both a presentational requirement and a sanity check: I'm very familiar with the... "goofy" nature of base motion capture, especially combined with a simpler art style. But that works perfectly in my favor! The last thing I wanted for this project (and for my artwork in general) was to take the subject matter too seriously. This was my last hoorah as a college student, so what better way to sign off my education than with a 90s style music video of demons in a nightclub?
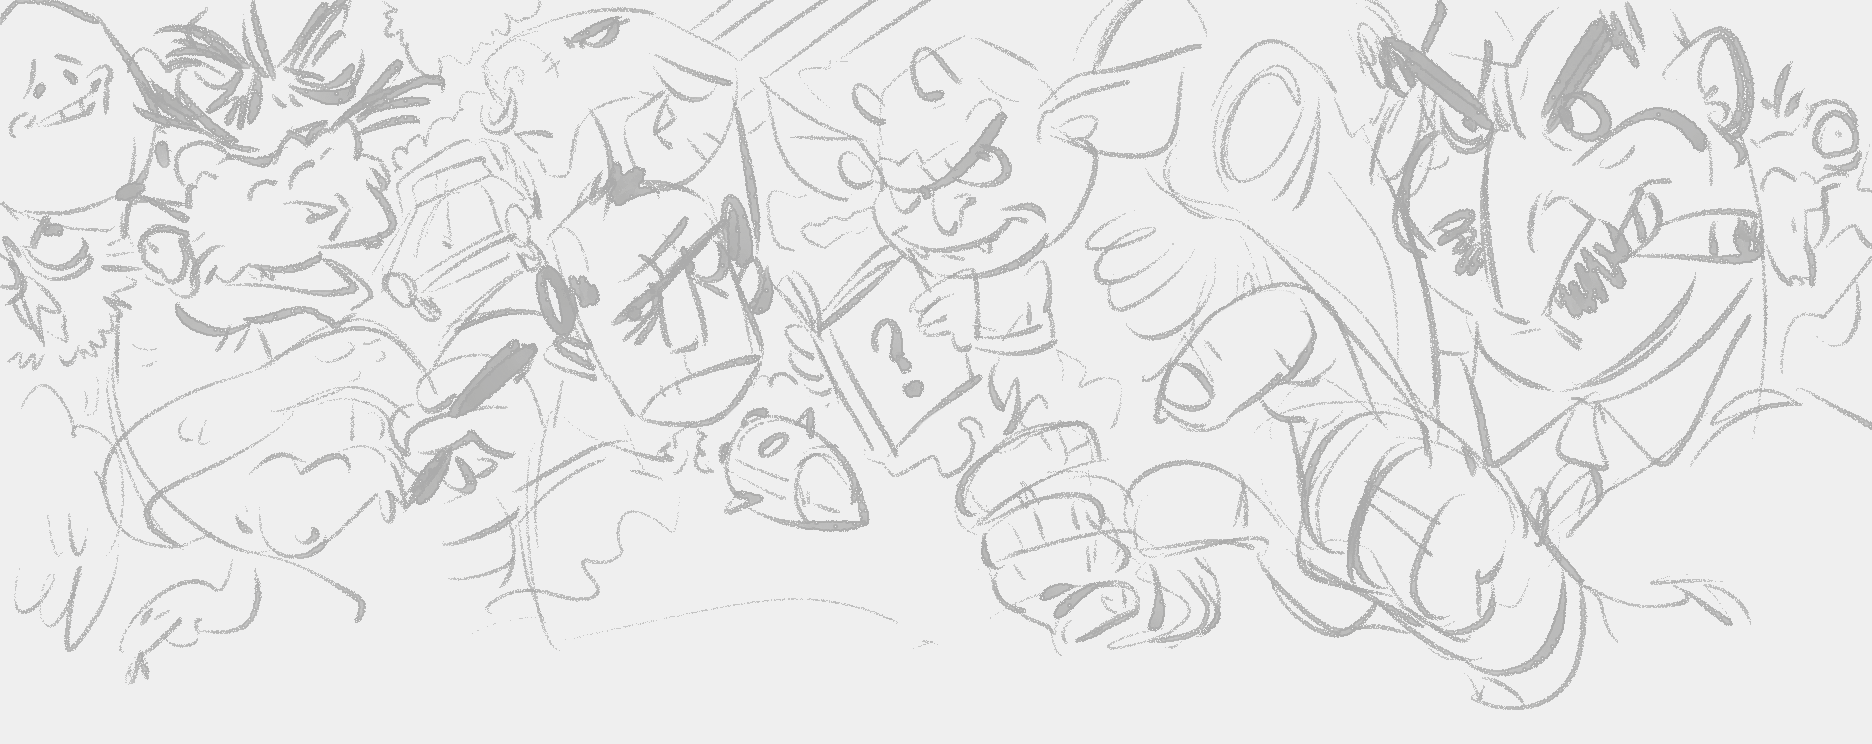
Naturally, I started with a few sketches. I started with the pig/boar men.
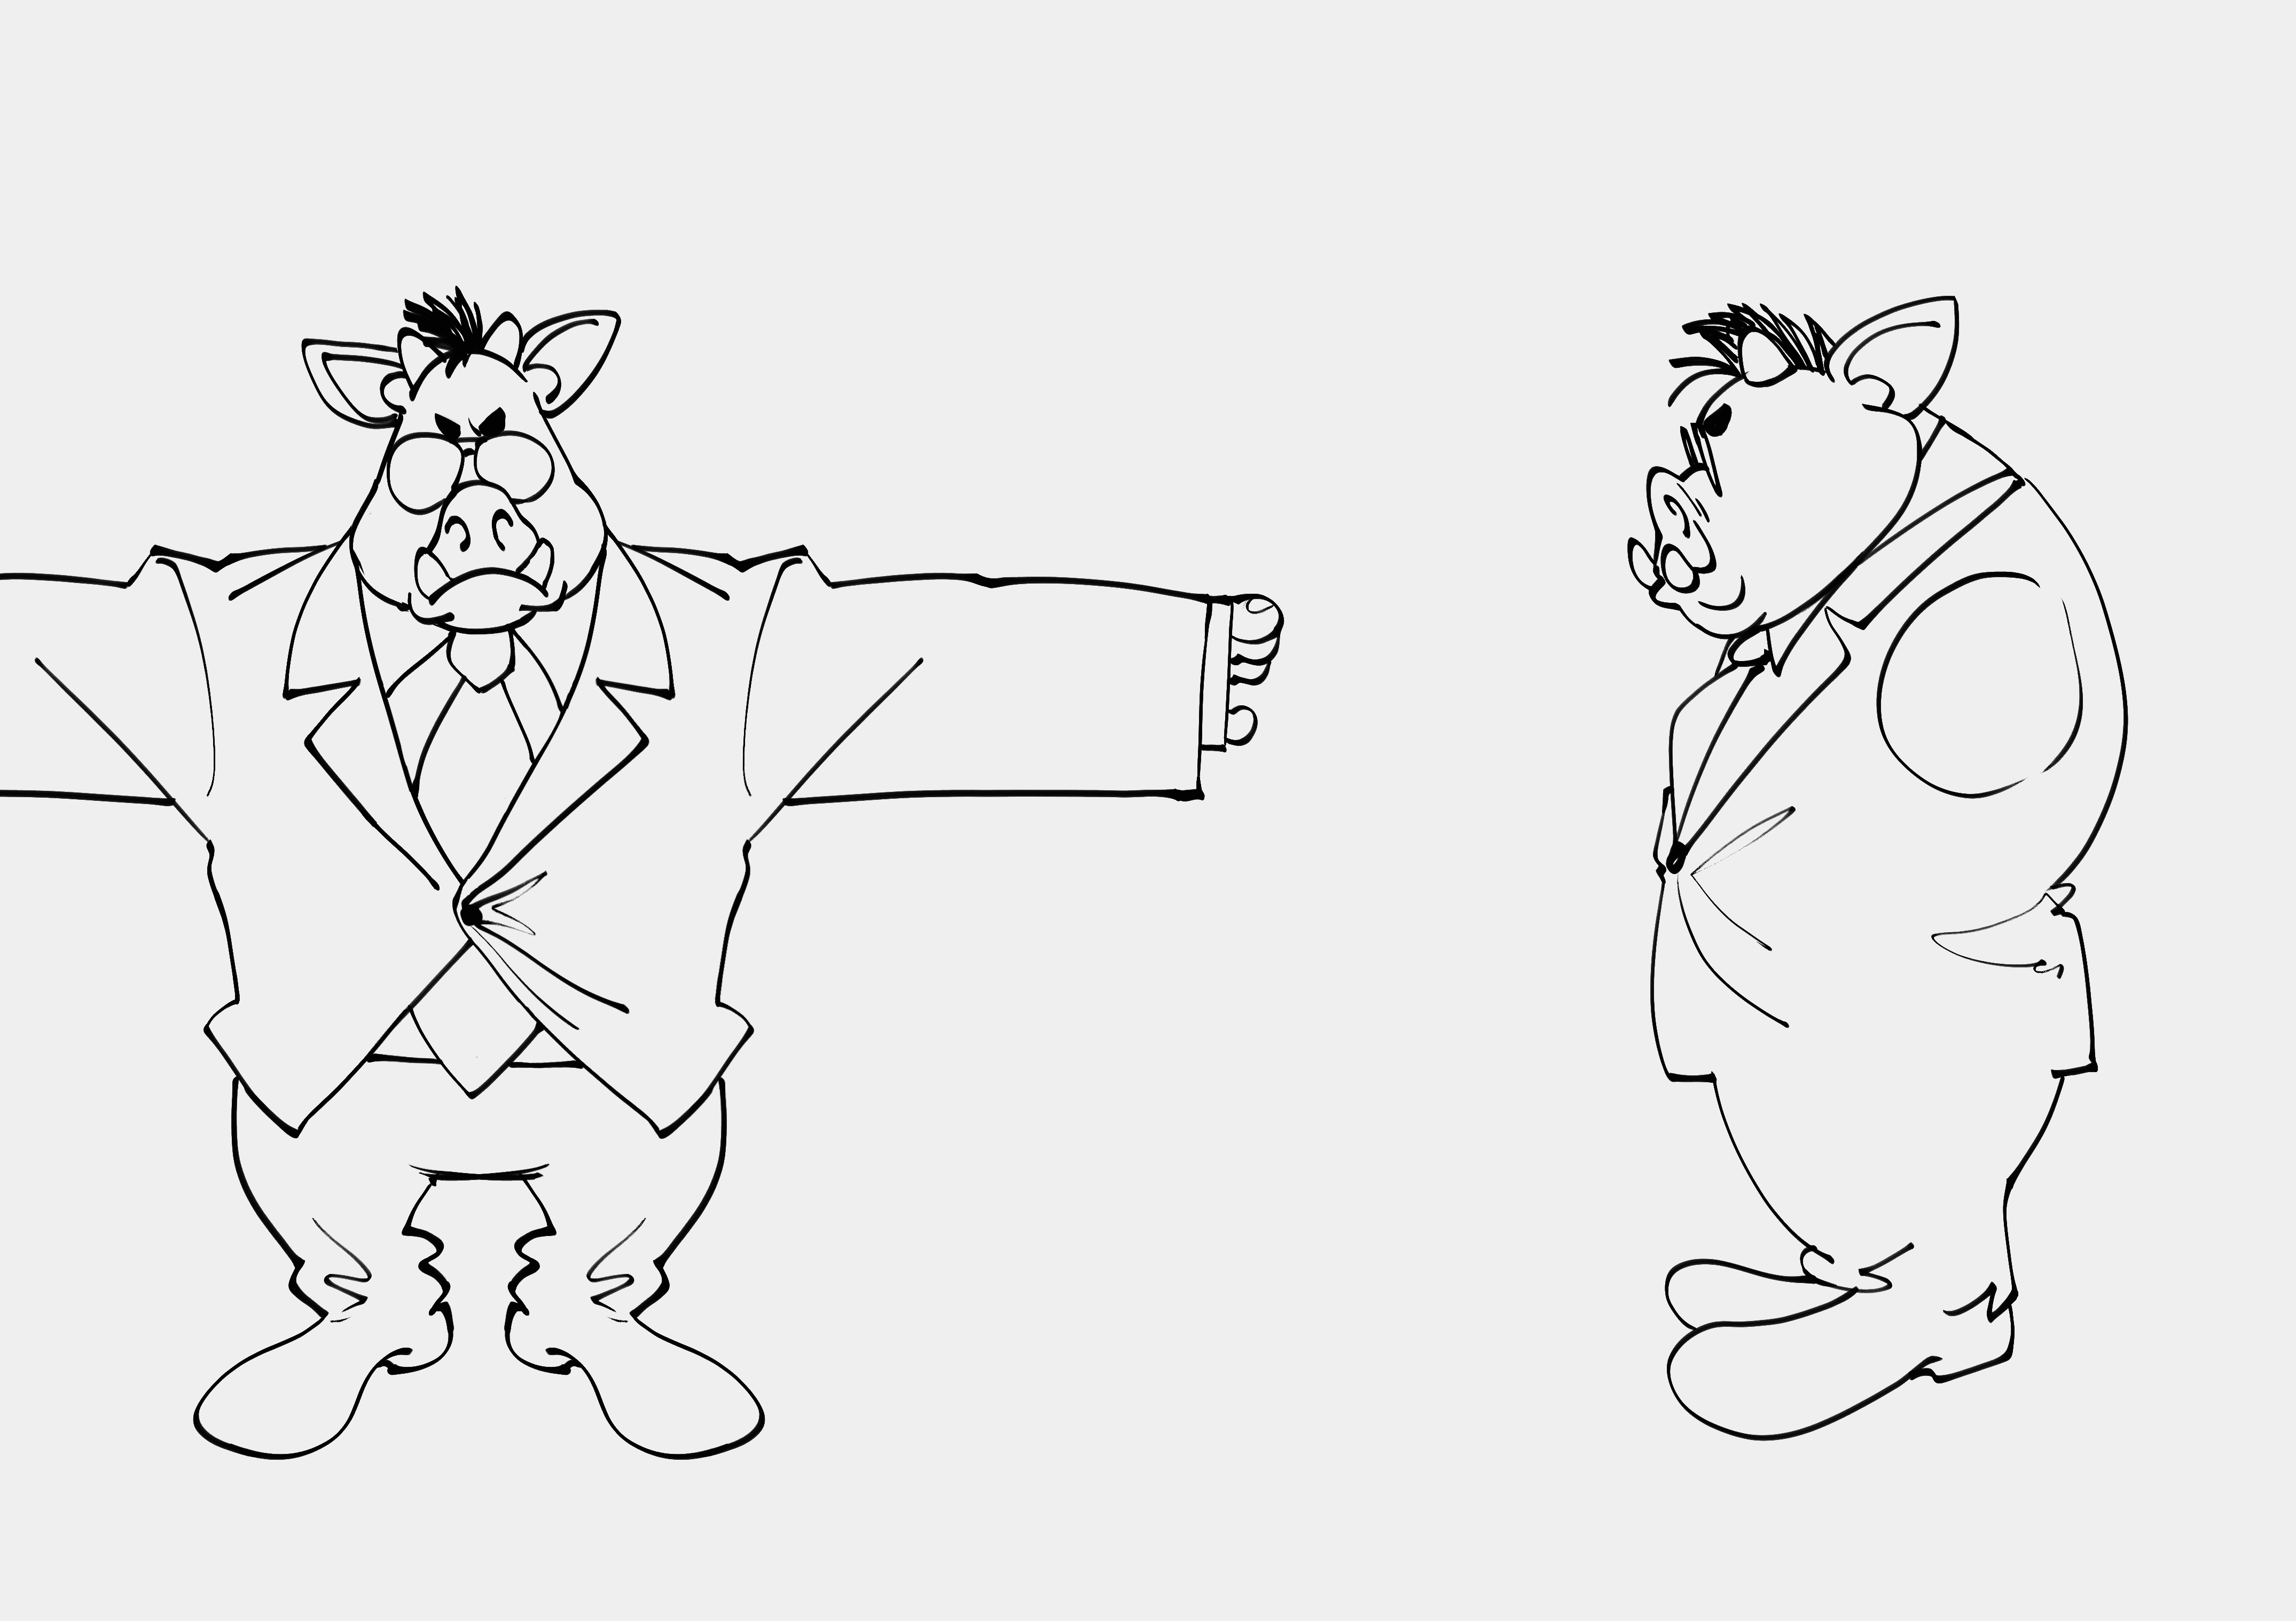
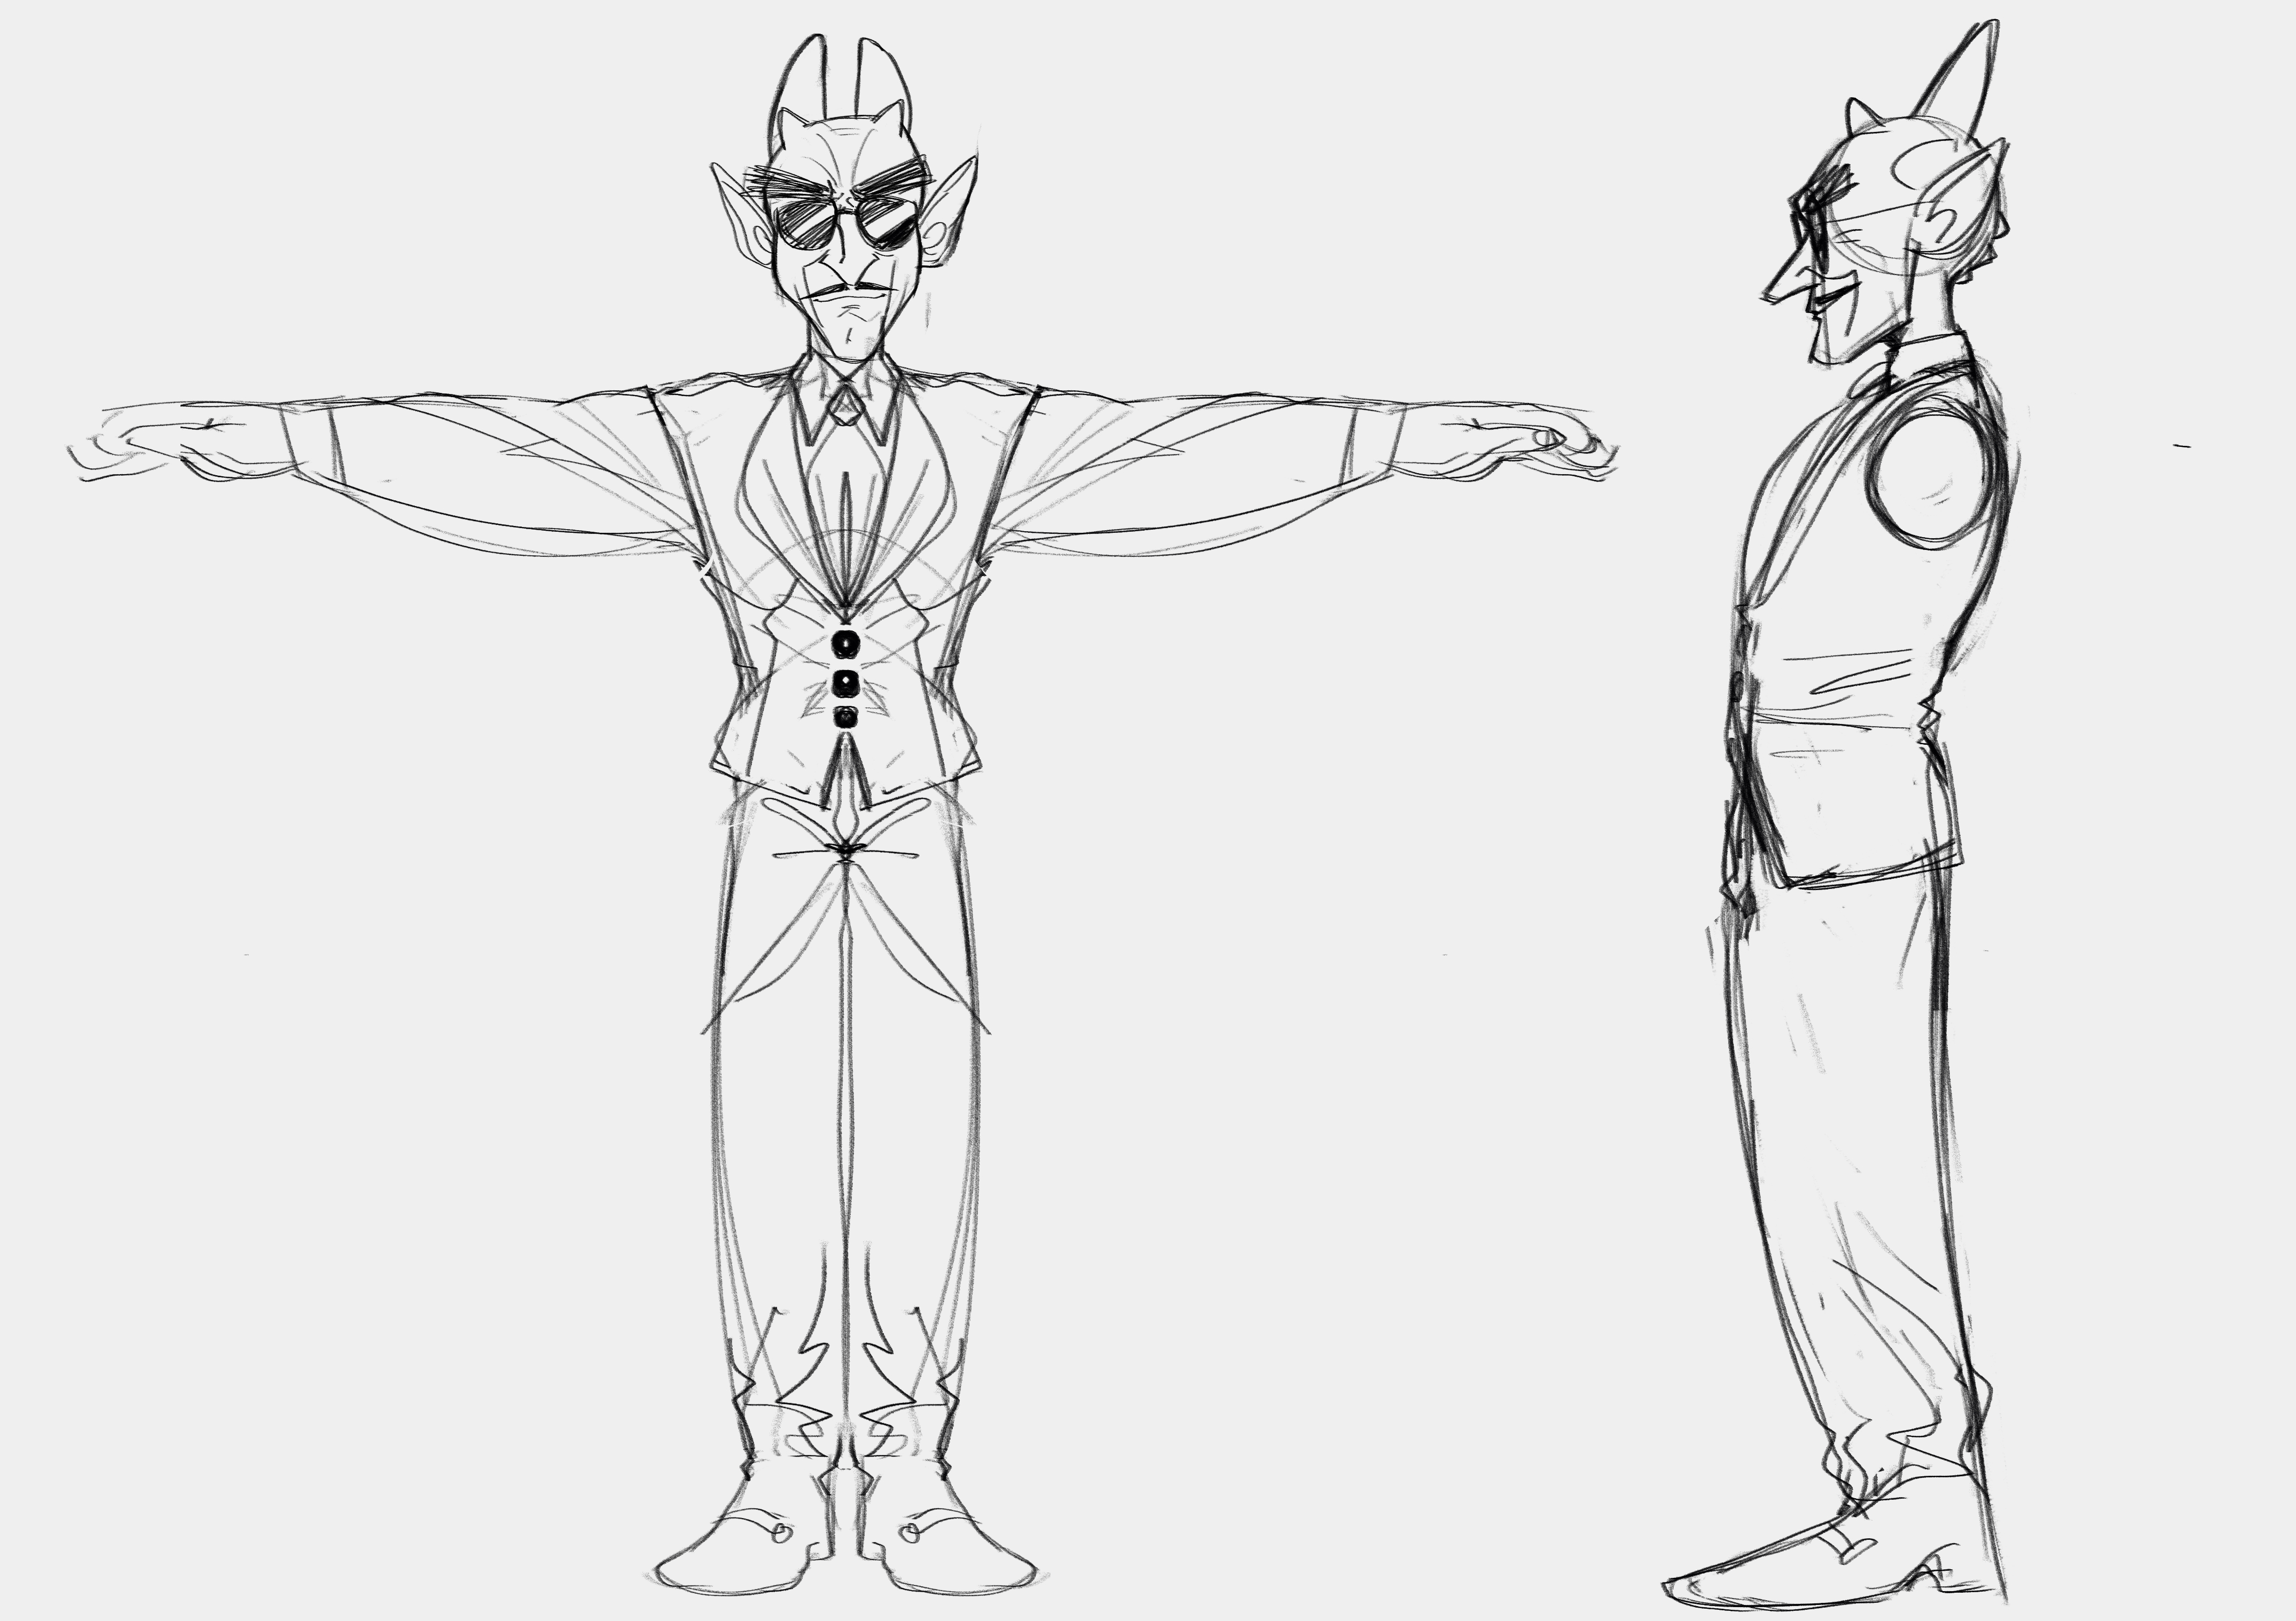
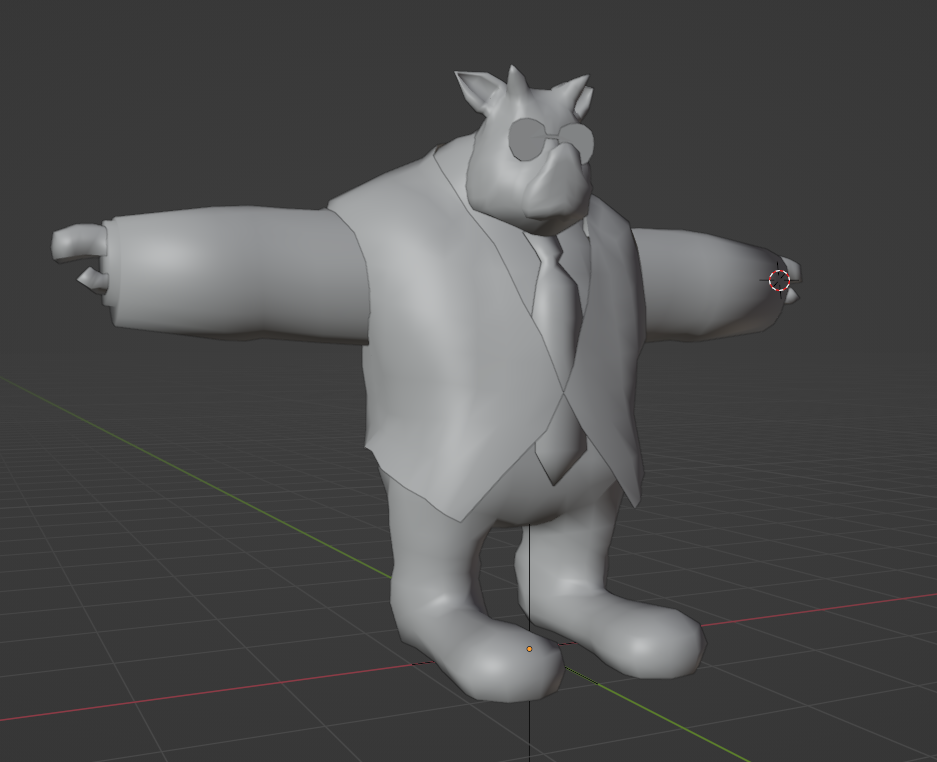
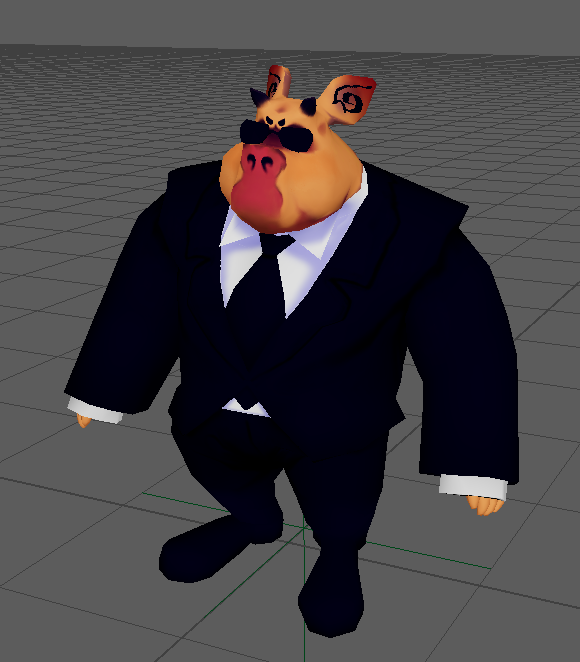
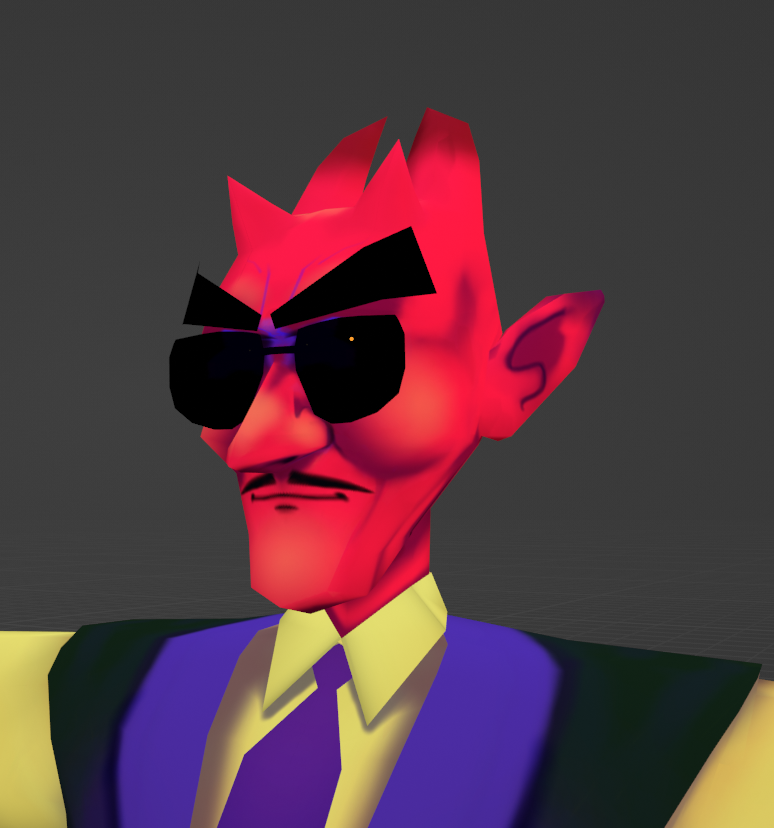
Now, I am by no means a character modeler. This was actually the most daunting part of the process for me. I get so caught up in polycounts and edge flow that I lose sight of what actually matters in the end. In my case, the edge flow of my topology only really mattered for my hand-painted textures and rig deformations. Below you can see some progress shots, and a close up of the main guy's face. I really love how my style translated over to 3D, and hand-painting made things a lot of fun. This tied in nicely with my background art as well, which uses a few layered, distorted planes to give the illusion of depth, even though I started with a flat PNG. The crowd in the dance floor shot use that same technique, along with some regular planes with silhouettes drawn on top.

Music & Lipsyncing
Most of the motion capture data is from Mixamo, with a few of my own motions thrown in there. I wanted to have more custom data, but the cleanup process proved too much for my time constraints. There was very little real animation on my part, besides some motion blending and procedural grasping on the hands (for this I just made an attribute on the wrists that controlled the clench of the fists, as the mocap didn't have any hand motion at all). Most of the animation work went into the lipsyncing cleanup, which you can read more about in my previous blog post. The process was essentially the same, though this time I was dealing with a longer song and more mouth shapes. My lipsync script scaled up nicely though. The most challenging part was editing down the audio into something manageable for the scope of the project. This wasn't the only reason though: I still had to mouth out the rapping and singing parts to get clean-enough data for the forced alignment portion. I am much less of a rapper than I am an artist/developer, but I think I managed okay this round :)
Return to Unreal
This was one of my very first lighting tests. Rendering in real-time was a lot of fun. Being able to iterate so quickly on my shots was huge for my creative process, as it was much more forgiving than the alternative of making an artistic decision and waiting for Arnold to output an image. Learning Unreal's lighting and post-process systems proved challenging, but certainly worth it. A lot of the decisions I made in pre-viz made it to the final cut, such as the wider-shot dance floor scene. I also found room to improvise, like with the opening camera truck down the hall for the title sequence.
My first major hurdle was getting my lipsync data into Unreal. Ultimately I was able to export the Mouth Plane used for the lip shape image in Maya to its own animation curve in Unreal. I could then evalutate that curve in Unreal at each event tick to know which mouth shape to apply to the material. On the material itself, I just create a Dynamic Material Instance on the start. There's a Mouth Textures array that I pull from on each Actor. That's where I place all of the corresponding textures (as I would in Maya) and let the animation curve eval handle the proper index. Below is the Blueprint that I used for all of the characters in the scene.

Conclusion
This has been a pretty lengthy blog post, but it's been long overdue. This was a great project for me, and I'm glad to have spent my last studio class on something that became so personal. My last semester at LSU was really specially. Between my capstone project, my virtual production class, and this, I was exposed to so many workflows and teams that I never thought I'd get a chance at. I've grown a lot, even in these past few months that I've been gone. I'm gonna finish this off before I get too sentimental, but thank you for reading!
